ELECDURA NETWORK

Your Whole New Supply Chain For Heavy-Duty Parts
Whatsapp:
+86 18915027366
Phone:
+86 18915027366
Views: 0 Author: Site Editor Publish Time: 2026-07-25 Origin: Site
A useful alternator output test measures current and voltage under a defined load, at the speed and temperature required by the applicable test procedure. A normal dashboard voltage does not prove full output capacity. Equally, low current with a charged battery and few electrical loads does not prove a faulty alternator.
First establish battery, drive-belt and circuit condition; then separate the alternator's capability from the electrical demand of the vehicle. Record where each measurement was taken before using the result to approve a repair or replacement.
This guide is for workshops and buyers reviewing heavy-duty charging complaints. It explains how to interpret a test record, not a universal live-testing procedure. When replacement is justified, the Elecdura heavy-duty alternator range is a starting point for checking the exact reference and configuration.
A capacity test asks whether the alternator reaches the specified output under controlled conditions. A vehicle-demand check asks whether the installed system can support the actual duty cycle, including periods at idle. An alternator can pass the first test yet leave a heavily equipped vehicle discharging its batteries during prolonged low-speed operation.
Identify the exact alternator and obtain the relevant output specification or test procedure. Check whether its speed refers to the engine or the alternator shaft, and whether its rating is cold, hot or otherwise temperature-defined. Do not compare an idle reading directly with a maximum nameplate rating.
Record the loads actually powered by this charging system and when they operate. A liftgate used intermittently is not the same demand as continuous lighting or cab ventilation. Do not assume that every refrigeration or auxiliary device on a truck is supplied by the engine-driven alternator; some equipment has a separate power source.
A useful record therefore includes both the controlled test condition and the reported operating condition. Passing one should not be described as proving the other.
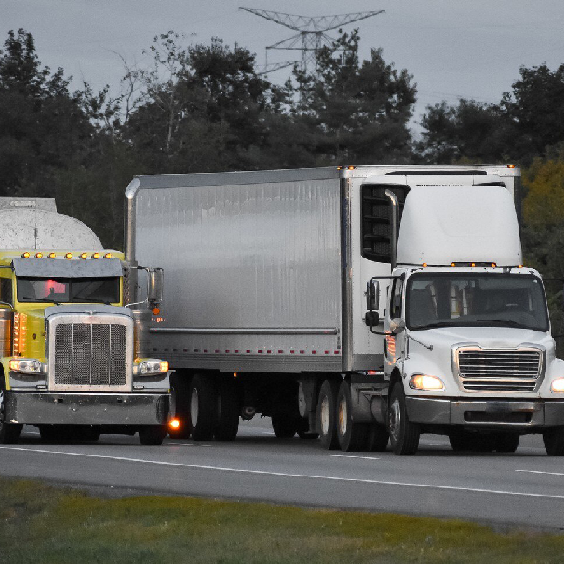
A vehicle photograph cannot establish its electrical load. Identify the equipment connected to the charging circuit being tested.
High-current testing belongs with a qualified technician using the vehicle service procedure and correctly rated equipment. Secure the vehicle, manage exhaust, protect against battery hazards and keep leads clear of belts and fans. Stop for abnormal heating, smoke, damaged wiring or unsafe operating conditions. Do not disconnect a battery cable with the engine running as an alternator test.
Record battery type and condition, then complete the specified state-of-charge and battery tests. A discharged or defective battery changes the load presented to the alternator and can invalidate the comparison. Inspect the belt, tensioner, pulley alignment and mounting before interpreting an electrical shortfall.
The Delco Remy heavy-duty troubleshooting guide follows this battery, drive and connection-first approach. Its numerical limits belong to its stated procedure; they are not a substitute for the specification of every 12 V or 24 V installation.
Confirm system voltage, ground arrangement, regulator connections and any vehicle-controlled charging strategy. Read relevant fault information where the vehicle provides it. A low-output observation without knowing whether the system is requesting output is not enough to condemn the alternator.
With remote voltage sensing, the regulator can respond to voltage measured away from the alternator. Its B+ voltage and battery voltage need not be identical. The difference must be interpreted with the actual sense location and loaded cable measurements, not labelled automatically as either a failed regulator or acceptable wiring. See Delco Remy's explanation of remote sensing; do not guess terminal functions from their appearance.
Use a suitable DC clamp meter according to its instructions, with the zero and direction checked. Establish that the conductors measured account for the alternator's output. A reading on one branch can miss current supplied elsewhere. Do not enclose an opposing return path and treat the resulting reading as total output.
The Delco Remy diagnostic manual, alternator amperage-output section, specifically calls attention to installations with multiple output wires. Its equipment-specific procedures should not be transferred to an unidentified modern charging system.
A battery-current reading shows whether that battery path is charging or discharging; it does not by itself show everything the alternator is supplying to vehicle loads. Label the circuit and current direction on the report. Otherwise, a small net charging current can be mistaken for low alternator capacity.
Measure alternator-terminal voltage and battery-bank voltage under the same defined load. Use the specified return point for an insulated-ground unit. Where the readings suggest a distribution problem, perform the approved loaded voltage-drop checks on the positive and return paths and record the load current with the result.
An unloaded resistance check or a voltage comparison made at different loads does not reproduce the same test. Repair an excessive circuit loss and repeat the measurement before selecting a higher-output replacement.
Start with the specified baseline, then apply the approved test load or operating loads in a repeatable sequence. Record current, the two voltage locations, engine speed, relevant temperature condition and warning behaviour at each stage. A load bank must be suitable for the system and operated within its limits; the vehicle's accessories may not provide enough demand to demonstrate rated capacity.
DENSO's alternator troubleshooting guidance distinguishes voltage inspection from output-current measurement and directs technicians to the vehicle manufacturer's test values. Do not combine one manufacturer's speed, another's voltage limit and an unrelated nameplate rating into a new pass/fail rule.
If the complaint appears after warm-up, repeat the relevant sequence safely in that condition. Compare with the applicable temperature-qualified specification. Output changing with temperature is not, by itself, proof of internal failure.
Keep the measurement points and operating load consistent. Note any change in belt behaviour, charging command or battery recovery demand. If several conditions changed together, record the result as inconclusive rather than attributing it only to heat.
This may simply mean the system is not being asked to deliver much current. Confirm demand and control state, then follow the capacity-test procedure if capacity is the unresolved question. Do not order an alternator from this observation alone.
Investigate the loaded distribution and return paths, including the relevant sensing arrangement. The key question is whether the required electrical energy is reaching the battery and loads, not whether the alternator terminal looks satisfactory in isolation.
Once battery condition, drive, wiring, control and measurement coverage are confirmed, a repeatable shortfall supports further alternator-specific diagnosis or replacement under the service procedure. A warning lamp or discharged battery alone does not make that determination. DENSO's fault-diagnosis guidance also identifies vehicle-side and control-circuit causes of charging complaints.
Review the duty cycle and approved charging-system specification. A larger nameplate rating does not guarantee more useful output at the relevant idle speed. Any proposed change must also be compatible with the drive, cooling, mounting, regulator/control system and current-carrying circuit.
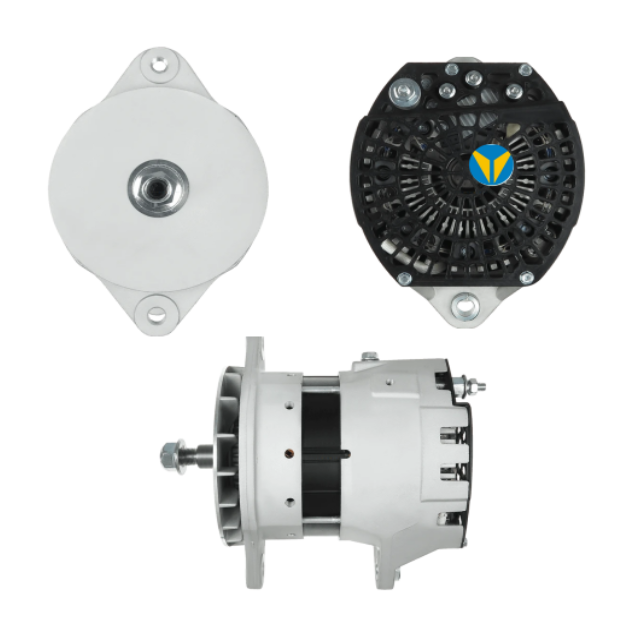
Keep the test result beside the alternator reference. Record the vehicle and engine, nominal voltage, exact unit identification, test procedure, speed/temperature conditions, measured current, measurement points, both voltage readings and the unresolved or confirmed fault. Add clear photos of the terminals, mounting and pulley arrangement.
Different views help record mounting and terminal layout. A product photograph does not verify output capacity or compatibility with a particular vehicle.
For repeat orders, retain the approved reference and configuration rather than substituting by amperage alone. Separate the evidence that justifies replacement from the evidence that confirms the proposed replacement fits. Describe the quoted product's brand and aftermarket status accurately; a cross-reference is not proof of original-equipment supply.
Send Elecdura the reference, application, configuration photos and recorded test outcome when requesting a parts quotation. Include quantity and any required documentation. If the fault remains unresolved, state that clearly so a parts enquiry is not mistaken for a confirmed diagnosis.